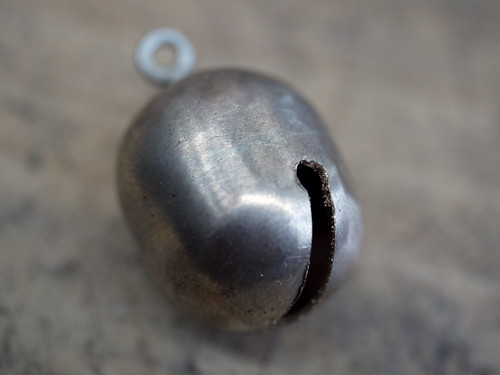
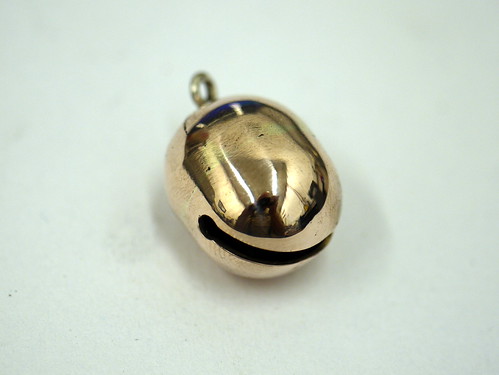
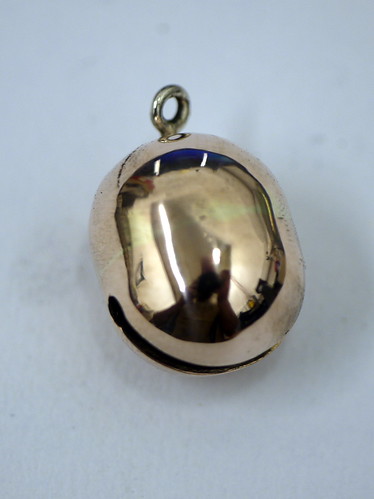
Not that it is that time already, but after posting a request for information about bells on Crafthaus, I finally took on board the advice I was given and coupled it with snippets found trawling through online fora and made a falconry bell. It actually rings, looks the part and is probably light enough that it could actually be used for falconry though it is actually going to end up on my falconry-inspired "Fashion:Victim" piece.
In case anyone is interested in such matters, here is the progress of the bell from start to finish as there is precious little information out there and you never know when you might have to make a bell!
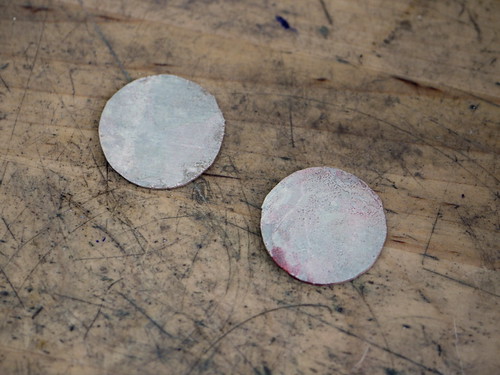
1) Cut some discs. These are about 30mm across and are made from 50/50 Copper/Silver shibuichi. I chose shibuichi as it is harder than sterling when worked:
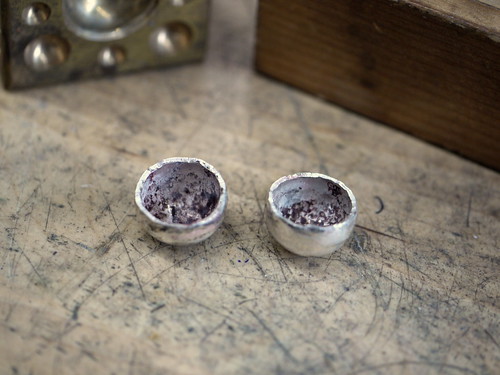
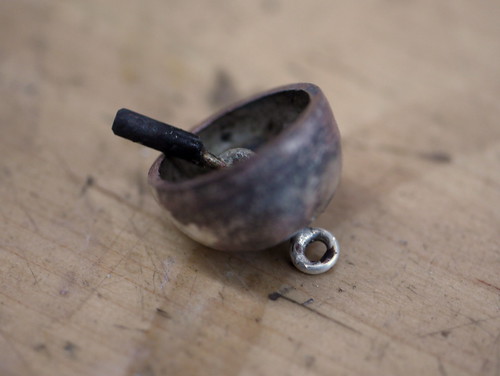
2) Anneal and dome the discs into very deep domes. The falconry bell is also sometimes called an "acorn bell" on account of the shape. I think that it would probably still work if it were more spherical:
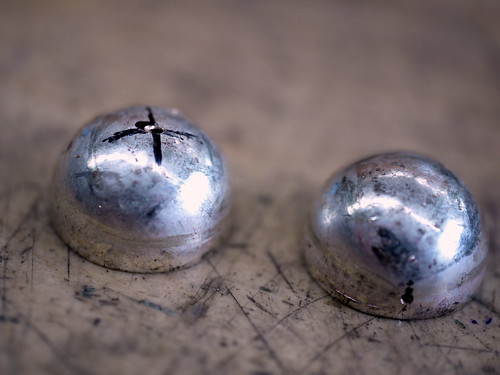
3) Even up the rough edges and mark the centre of one of them and drill a hole. On the other one, drill two diametrically opposed holes a little way up from the edge:
Some people advocate drilling the side holes when the bell is made but I found that needlessly difficult as it would have meant supporting and measuring a quasi-spherical object and drilling it, whilst it is the work of a moment to drill the hemisphere.
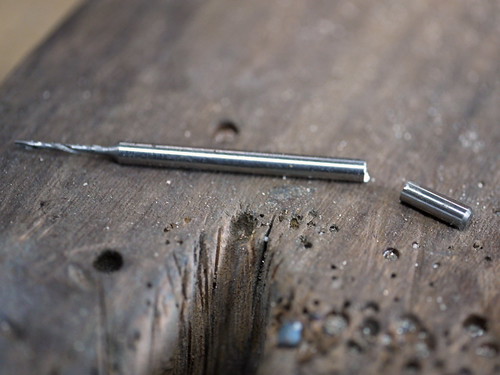
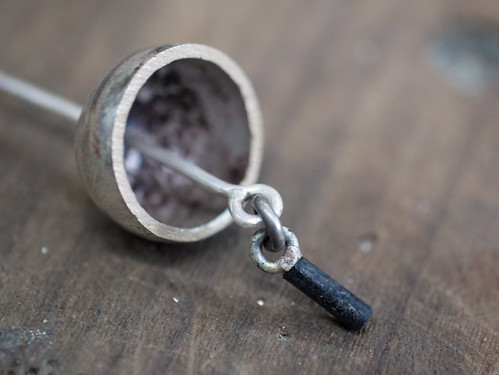
4) Make the clapper. I knew that the clapper should be free to move and that it should be hard. Some comments online suggested that a ball-bearing allowed to move free within the bell would be enough to make a sound, but I thought that a swinging clapper would be better. For a hard material, I cut a piece of tool steel from a blunt drill using a diamond disc:
5) Attach the clapper to a free-swinging support. I made a couple of these to see which worked best and this one with the third jump ring in the middle proved to be best. Soldering a jump ring onto the tool steel is a bit tricky, but I used enamelling solder and it works fine.
6) Secure the mechanism so that the outer bell hangs freely on the support of the clapper mechanism. This is a really tricky solder to do! I used a LOT of tipp-ex to stop everything sticking together.
The outer jump ring will be used to attach the bell to the final piece. It also prevents the clapper from falling inside the bell.
7) Solder the two halves together with the mechanism in place:
8) Pickle, clean and file, then mark out where the slot is going. At this stage, the bell doesn't ring, it just clicks a bit!
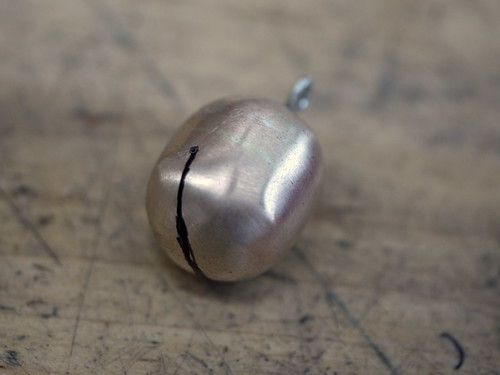
9) Cut the slot and create the holes at the end of the slot to relieve the stress points:
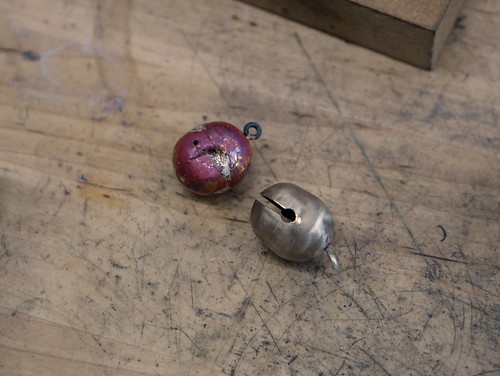
NOW it is ringing! A few more steps to go and the bell will be finished. Before I go on, here are a couple of failures:
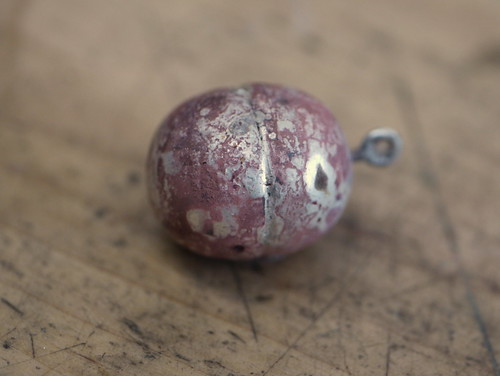
Left: forgetting that shibuichi and hard solder have similar melting points. Right: Thinking, "I wonder if it would be louder if I made the slot bigger?". It wasn't. It stopped making any noise but a metallic clicking.
10) Barrel polish the bell and then give it a final manual polish. The barrel polishing hardens the whole thing up and the sound is better afterwards:
I did make a video of the thing ringing but for some reason, there was no sound on the video. I'll do it again tomorrow and post it then.
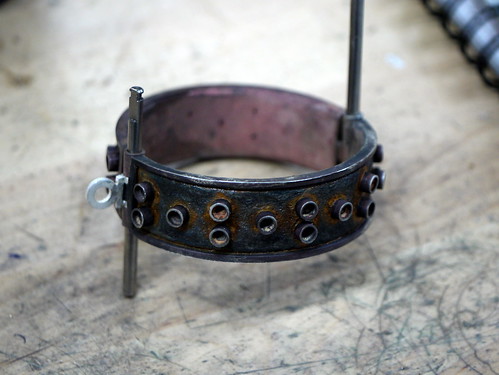
I also got a fair bit of work done on the bangle for this piece, setting the hinges, one of which will be the catch mechanism and making the support for the hanging elements (which will include the above bell):

